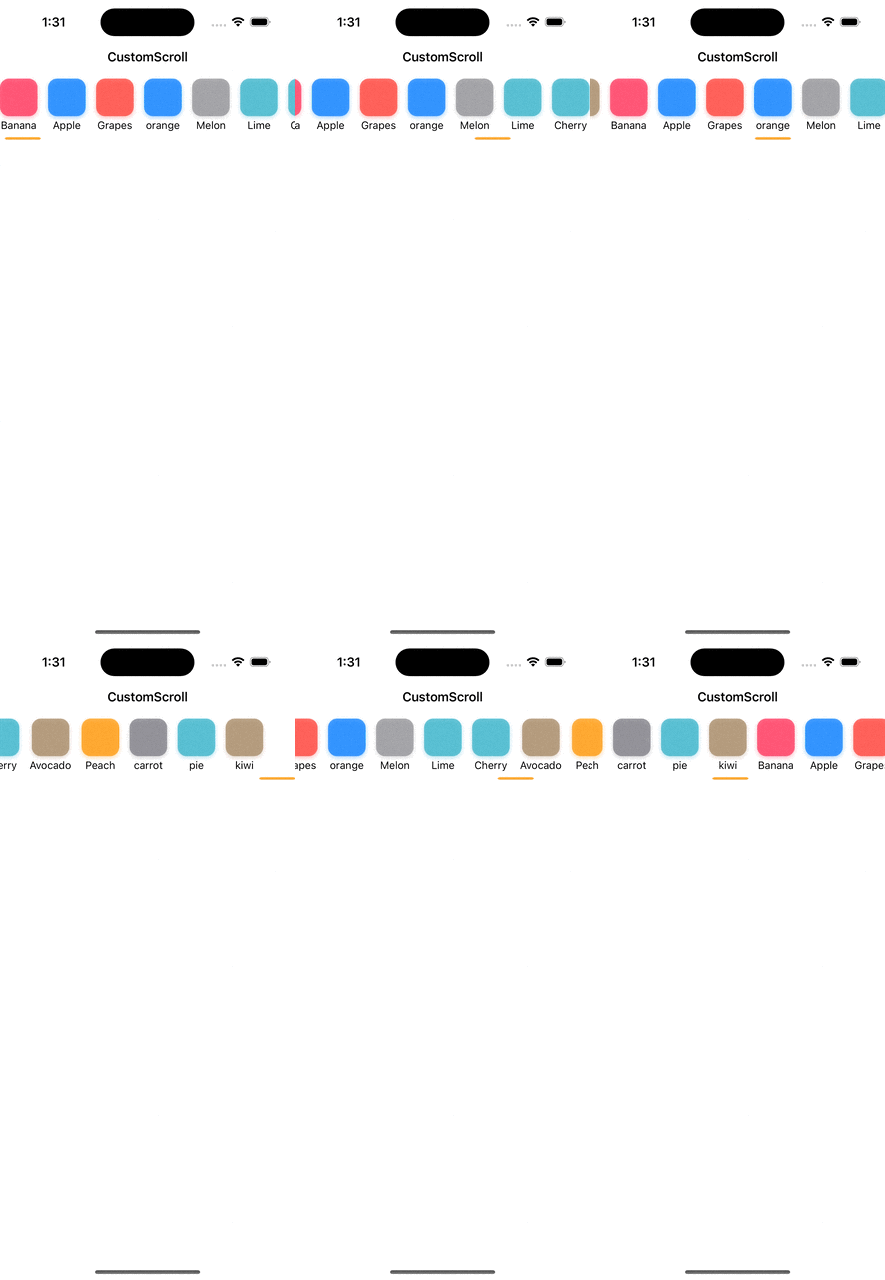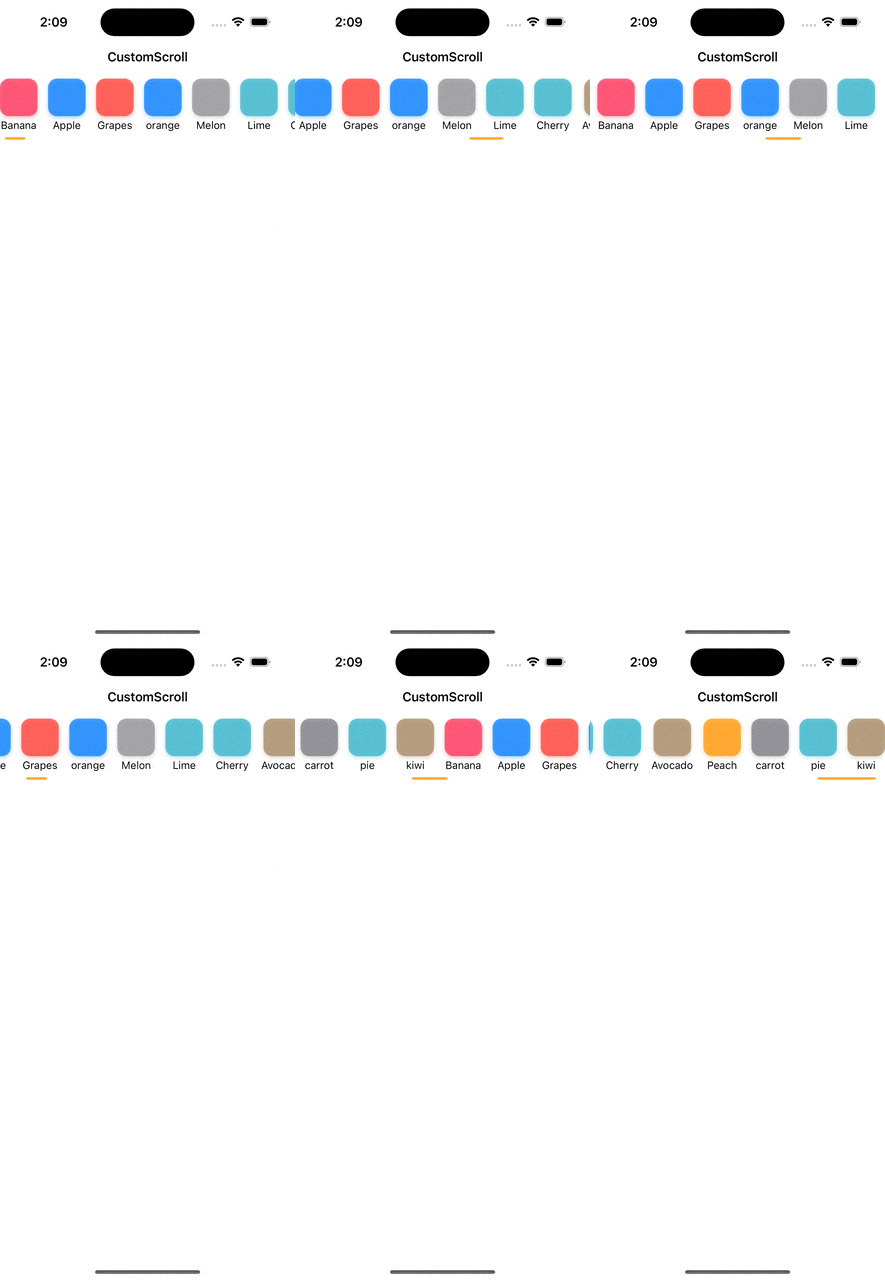
안녕하세요. 오늘은 스크롤 바에 관련된 실험을 하다가 커스텀으로 스크롤 indicator를 구현하게 되었습니다.

스크롤 indicator는 사용자의 드래그 이후 숨길 수도 있습니다.

또한 크기도 지정할 수 있고 크기도 키우거나 줄일 수 있습니다.
1. Setup UICollectionVIew's scroll direction + layout
layout을 통해 스크롤 방향과, cell의 설정을 해야 하는데 이전 블로그 위 제목 1. Setup UICollectionView's ... 파트와 동일한데 cell의 크기만 다릅니다.
2. Setup FruitsScrollView
final class FruitsScrollView: UIView {
	// MARK: - Constraints
    private typealias ScrollConstraint = ScrollIndicatorConstraint

    private let ContentHeight = 3.2
    private var ContentWidth: CGFloat
    private let ScrollLeadingInset = 3.0
    private let CellSpacing = 14.0
    private var ScrollIndicatorWidth: CGFloat = 50.0

	// MARK: - Properties
    private lazy var scrollIndicator: UIView = UIView().Then {
        $0.translatesAutoresizingMaskIntoConstraints = false
        $0.backgroundColor = .systemOrange.withAlphaComponent(0.8)
        $0.layer.cornerRadius = 4
    }
    private var scrollConstraint: ScrollConstraint?
}
스크롤 인디케이터와 scrollConstraint를 업데이트 할 변수를 선언합니다. 그리고 layout시 사용될 정보를 변수로 선언합니다. (차꾸 했갈려서 지정했습니다.)
struct ScrollIndicatorConstraint {
    var top: NSLayoutConstraint?
    var leading: NSLayoutConstraint?
    var trailing: NSLayoutConstraint?
    var bottom: NSLayoutConstraint?
    var width: NSLayoutConstraint?

    func makeList() -> [NSLayoutConstraint?] {
    	return [top, leading, trailing, bottom, width]
    }
}
이 구조체에서 추후 scroll indicator의 position을 업데이트 하기 위해 leading, trailing을 자주 사용할 것입니다. 특정 위치에 따라 크기를 변경할 경우에 width 정보도 저장해야 합니다. 그리고 변수들을 간단히 배열로 얻기 위해서 makeList()함수를 선언했습니다.
final class FruitsScrollView: UIView {
    ...
    // MARK: Initialization
    private override init(frame: CGRect) {
        FruitsViewWidth = 0
        super.init(frame: frame)
        translatesAutoresizingMaskIntoConstraints = false
        //1.
        heightAnchor
            .constraint(
                equalToConstant: ContentHeight)
            .isActive = true
    }

    convenience init(viewWidth: CGFloat) {
        self.init(frame: .zero)
        //2.
        FruitsViewWidth = viewWidth
        //3.
        configureSubviews()
    }

    required init?(coder: NSCoder) {
        fatalError("init(coder:) has not been implemented")
    }

}
1. scroll indicator의 크기를 지정합니다.
2. 오토 레이아웃으로 코드를 구성했기에, init시점에 이 뷰를 가지고 있는 상위 뷰로 부터 FruitsViewWidth를 통해 스크롤 바가 화면에 표시 될 전체 길이를 갖습니다.
3. scrollIndicator 오토 레이아웃 설정을 합니다.
여기서 FruitsScrollView에 추가를 하고, constraints를 구성합니다.
func configureSubviews() {
	...
    //1.
    let constraints = ScrollConstraint(
        top: scrollIndicator.topAnchor.constraint(
            equalTo: topAnchor, constant: 0),
        leading: scrollIndicator.leadingAnchor.constraint(
            greaterThanOrEqualTo: leadingAnchor,
            constant: ScrollLeadingInset),
        trailing: scrollIndicator.trailingAnchor.constraint(
            lessThanOrEqualTo: trailingAnchor,
            constant: -ContentWidth + dynamicWidth + ScrollLeadingInset)
    bottom: scrollIndicator.bottomAnchor.constraint(equalTo: bottomAnchor),
    width: scrollIndicator.widthAnchor.constraint(equalToConstant: dynamicWidth))
    //2.
    scrollConstraint = constraints
    //3.
    _=constraints.makeList().map { $0?.isActive = true }
}
1. scrollIndicator의 constraints를 구성한 후 NSLayoutConstraint 인스턴스를 저장합니다.
top, bottom constraint 의 경우 super view에 꽉 차게 합니다. scroll width 는 50으로 잡습니다.
여기서 trailing의 경우 scroll의 width를 빼주어야 합니다. ContentWidth는 scroll indicator가 표시될 뷰의 전체 크기 입니다.
3. Set FruitsScrollableView
protocol FruitsScrollViewDelegate: AnyObject {
    func didScroll(_ scrollView: UIScrollView)
}
UIScrollViewDelegate 가 채택될 함수에 이 프로토콜 변수를 둡니다.
final class FruitsTabBarScrollableView: UIView {
    var delegate: FruitsScrollViewDelegate?

    lazy var collectionView = {
        let layout: UICollectionViewFlowLayout = UICollectionViewFlowLayout().Then {
            $0.scrollDirection = .horizontal
        }

        return UICollectionView(frame: .zero, collectionViewLayout: layout).Then {
            $0.translatesAutoresizingMaskIntoConstraints = false
            $0.dataSource = self
            $0.delegate = self
            $0.showsHorizontalScrollIndicator = false
            $0.decelerationRate = .fast
         }
    }()

    lazy var scrollIndicator = FruitsScrollView(
        viewWidth: FruitsTabBarWidth
    ).Then {
        self.delegate = $0
    }
}
상단에는 horizontal 컬랙션 뷰. 그 바로 밑에 위에서 정의한 scroll indicator view를 레이아웃 합니다. 또한 scroll indicator view 한테 위에서 정의한 FruitsScrollViewDelegate 채택 후 delegate 변수에 할당합니다.
extension FruitsTabBarScrollableView: UIScrollViewDelegate {
    func scrollViewDidScroll(_ scrollView: UIScrollView) {
        if collectionView == scrollView {
            delegate?.didScroll(scrollView)
        }
    }
}
그리고 didScroll 호출!!
다시 FruitsScrollView로 돌아와서,,
// MARK: - FruitsScrollViewDelegate
extension FruitsScrollView: FruitsScrollViewDelegate {
    func didScroll(_ scrollView: UIScrollView) {
    	//1.
        let contentOffsetX = scrollView.contentOffset.x
        //2.
        let maximumContentOffsetX = scrollView.contentSize.width - scrollView.frame.width
        //3.
        let contentSizeAndSpacing = CellSpacing + dynamicWidth
        //4.
        let offset = contentOffsetX * (ContentWidth - contentSizeAndSpacing) / maximumContentOffsetX
        updateScrollView(currentPosition: offset)
    }
}

// MARK: - Helpers
extension FruitsScrollView {
	//5.
    func updateScrollView(currentPosition offset: CGFloat) {
    	guard offset > 0 && offset < ContentWidth - dynamicWidth else { return }
    	scrollConstraint?.leading?.constant = offset + ScrollLeadingInset
    	scrollConstraint?.trailing?.constant = offset + ScrollLeadingInset + dynamicWidth
    }
}

요렇게 contentOffset.x가 maximum인 길이까지를 contentWidth(스크롤 가능한 공간 == scrollView.frame.width) 의 길이로 축소했을 때 나올 수 있는 값을 구해나갑니다.
1. 현재 스크롤 중인 x좌표를 구합니다.
2. scrollView.contentSize.width는 collectionView의 모든 cell's width + cell's interspacing을 더한 크기입니다. 여기서 scrollView가 보여질 frame.width만큼 빼야 합니다. 이유는 contentOffsetX가 scrollView.contentSize.width의 끝까지 가지 않기 때문입니다. ( 끝까지 땡겨도 scrollView.frame.width만큼 당겨져 되돌아옵니다.)
3. cell과 ineterspacing 길이를 구합니다.
4.위 그림처럼 뷰에 나타날 위치를 구합니다.
5. leading, trailing의 constraints를 업데이트합니다.
func updateScrollViewWithDynamicWidth() {
    scrollConstraint?.width?.constant = dynamicWidth
    UIView.animate(
      withDuration: 0.3,
      delay: 0,
      options: .curveEaseIn,
      animations: { [weak self] in
        guard let self = self else { return }
        layoutIfNeeded()
      })
  }
이때 dynamicWidth를 사용한다면 특정 좌표에서 dynaimcWidth 값을 변경 후 이 함수를 실행하면 되는데 cell width + cell spacing크기를 넘기면 약간 contentOffsetX의 위치가 불안정해집니니다.
그리고 스크롤 이벤트에 따라 UIView.translation을 통해서 스크롤 보여주기, 가려지기도 할 수 있습니다. 그리고 scrollView에 백그라운드도 추가했었는데 없는게 깔끔한거 같아서 안했습니다!!
혹시 오류나 틀린 부분 있으면 댓글로 알려주세요 +_+
전체 코드 보기


